Wednesday 30 December 2020

Thankful Grateful Blessed Layout for Bee Arty

Wednesday, December 30, 2020 0 Comments
Hi everyone! It's the second last day of 2020 which makes this my last Bee Arty blog post for 2020. What a year this has been! Let's hope 2021 will be a lot kinder to us all and that we can get back to our 'normal' lives as soon as possible.
 
Now on to today's project which is a layout created with the gorgeous new collection by Michelle Grant called "Grateful Heart".  Here is the completed layout plus a quick tutorial on how I created this layout.


To start, cut a one inch frame from the "Hope" 12x12 paper (B side). Trim a quarter of an inch from each side of the "Together" 12x12 paper (B side). Adhere to the frame on an angle to form the base. Lightly ink around the edge with black archival ink.

Cut out the large doily from the "Faith" 12x12 paper, place in the middle of the layout base and lightly trace around the doily. Fussy cut all of the remaining floral elements and set aside.


Random stamp to the top left and the bottom right of the photo frame area and around the page as shown in the image below. Stamps used were from the "Heartfelt" Clear Stamp Set and the script stamp from the "Bokeh" Clear Stamp Set and stamped with black archival ink.
 

The next steps require some fussy cutting. I've fussy cut all of the elements but for this layout you'll need just the pieces shown. Note: I did leave a few out of the final layout at the time this photo was taken. You can still add them to your layout if you wish.
 
These elements were cut from the "Faith", "Blessed" and "Gathers" 12x12 papers. The orange bird cage is from the "Family" 12x12 paper.

 
The large doily was cut from the "Faith" and the remaining pieces from the "Family" 12x12 papers.
 

Adhere the large doily to the centre of the base with the smaller black doily on top. Arrange the remaining pieces to form a photo mat and adhere to your photo. I have used a 3"x5" photo for this layout. Arrange and adhere all other elements as shown in the final layout, some of which have been popped up with foam tape. I added in the "Thankful, Grateful, Blessed" at the last minute, these were cut from the "Family" 12x12 paper.

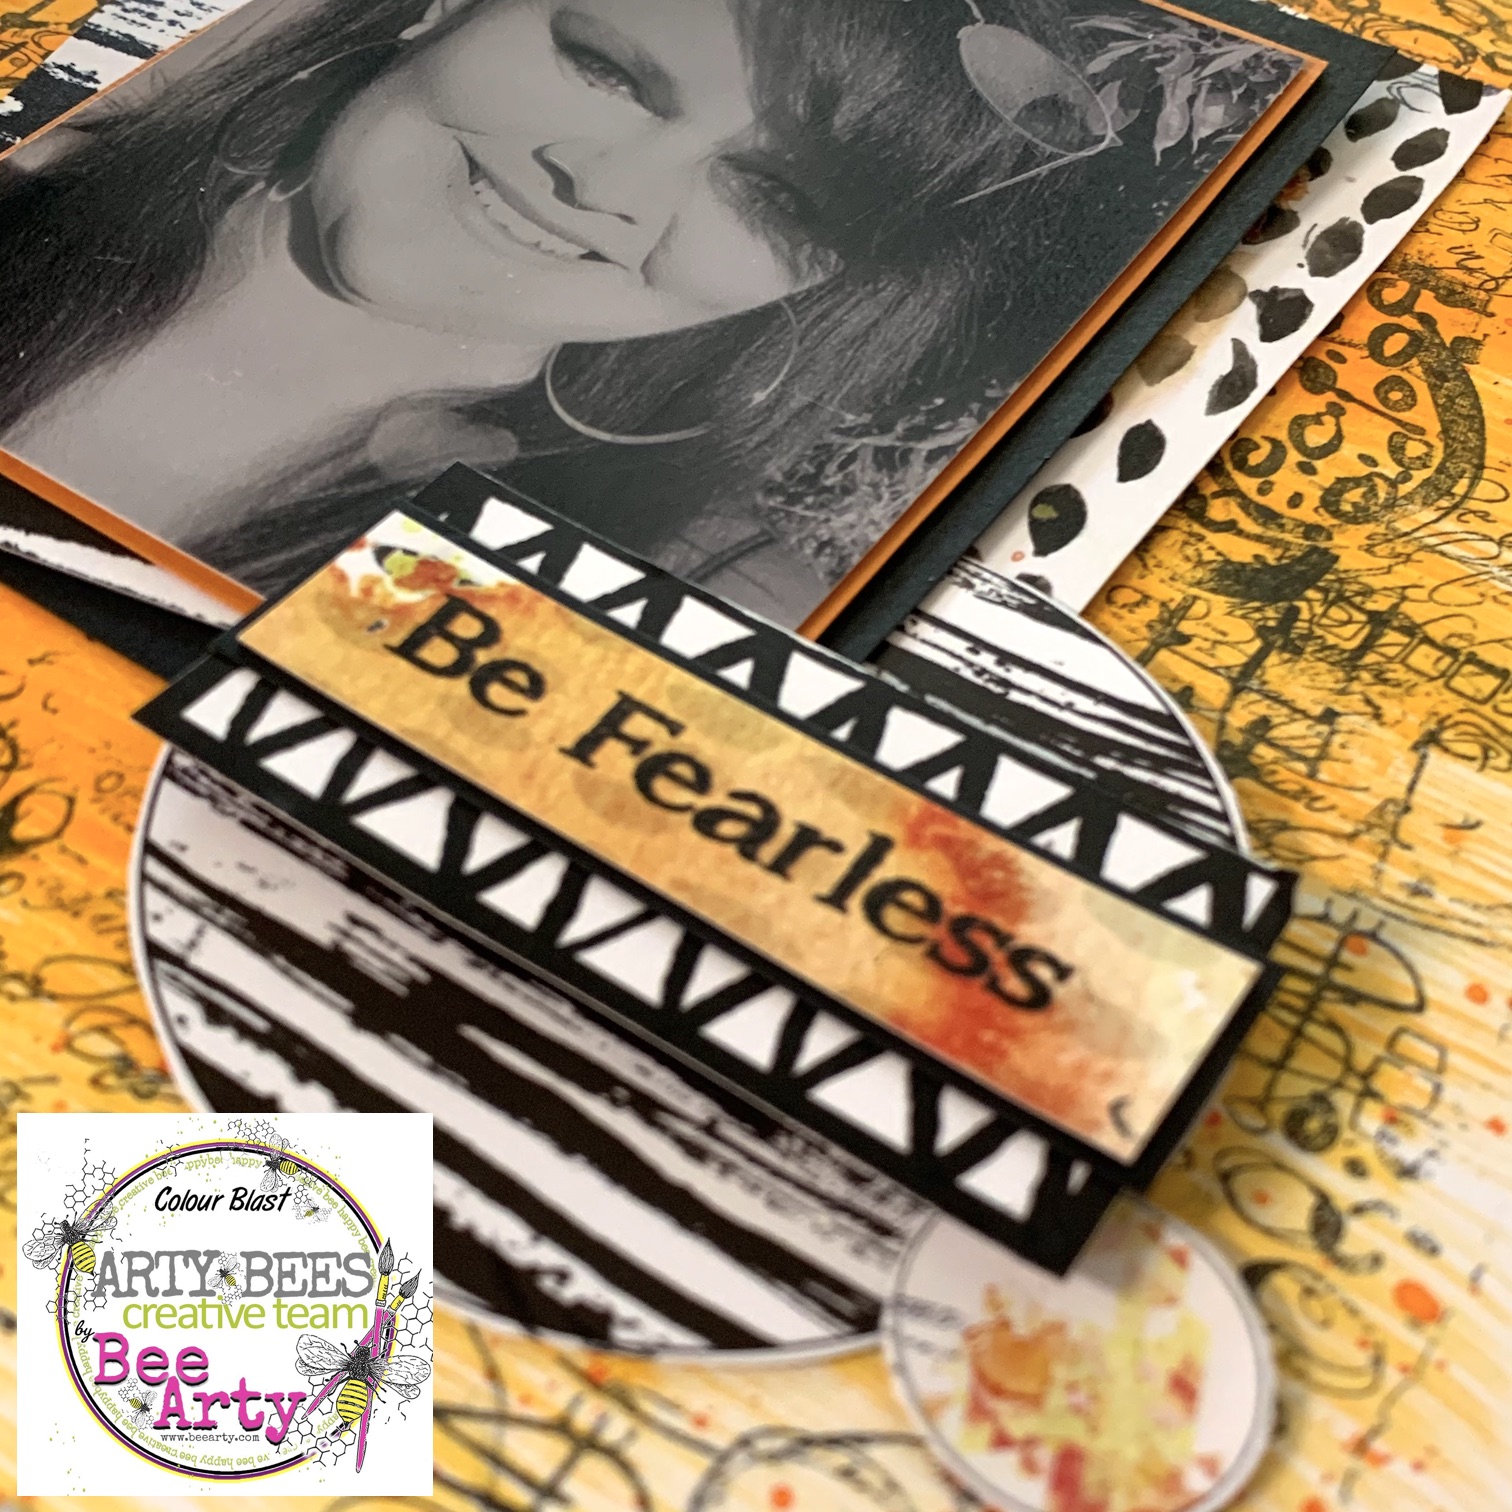
Here are some close ups of my final layout to show you how I've embellished the page.


Bee Arty Products Used:

Other Products Used:
Black Archival Ink
Foam Tape
 
I hope you have enjoyed this project. Thanks for stopping by.
Until next time, happy crafting and Happy New Year.
See you all in 2021.
Julie xx
 

Wednesday 16 December 2020

A Tropical Christmas Layout for Bee Arty

Wednesday, December 16, 2020 0 Comments
Hi everyone, I'm back on the Bee Arty blog today sharing a Christmas layout created with papers from the Find Paradise Collection.
 

To create this layout cut a frame from the Entangled 12x12 paper, then cut down a piece of white cardstock to 11.5x11.5 and adhere to the frame. Spray Bling Shimmer Spray around the white cardstock as shown. Cut out the two corner pieces from the Breathe and Recharge 12x12 papers, line up corners to the top centre and adhere to the base as shown.

Mat photo onto some red cardstock. From the same red cardstock, die cut a bow using the Bow Chic Metal Die and the 'ribbon' from the Runaway Metal Die.

Adhere your photo to the layout base. Arrange and adhere pieces from the Botanicals 12x12 paper and die cut pieces as shown. I've trimmed down the 'ribbon' die cut so it would fit beneath the photo and used the extra pieces around the photo.

The Merry Christmas chipboard piece is one that I've had in my stash for a while. I have double embossed it using Bling Embossing Powder and adhered over the bottom of the photo.


 Bee Arty Products Used:
 
Other Products Used:
Merry Christmas chipboard title from stash
Red Cardstock
Embossing Ink
 
I hope you enjoyed this project. Thanks for stopping by.
Until next time, happy crafting.
Julie xx
 

Tuesday 1 December 2020

Scrap the Girls December Challenge

Tuesday, December 01, 2020 0 Comments
Hi everyone! Today I'm sharing my Design Team project for the Scrap the Girls December Challenge. Scrap the Girls is a challenge whereby the only basic rule is - no boys! Every month there will be a mood board to follow for inspiration.

Here is my take on December's mood board plus close ups so you can see how I've created and embellished the page. 


Thanks for stopping by, happy crafting.

White With 1 December Challenge

Tuesday, December 01, 2020 0 Comments
Hi everyone! Today I'm sharing my final Design Team inspiration project for White With 1 Challenge. It's been a challenging year and it's time to focus on new ventures in 2021.

For the month of December the colour is "Garnet Glow" and there is also a sketch to follow. To enter, simply post your entry direct to the White With 1 Facebook Group.

I've flipped/reversed the sketch and went all out for Christmas given it's December.


Thanks for stopping by, happy crafting.


Wednesday 18 November 2020

Be Fearless Layout for Bee Arty

Wednesday, November 18, 2020 0 Comments
Hi everyone, today I’m back on the Bee Arty blog with a layout inspired by this months challenge: black, white and one colour of choice. I decided to go with orange as I had used this colour recently for another challenge and it surprisingly turned out great. 
 
Here is my layout plus a quick tutorial and a few close ups, so you can see how I’ve created the page.


I've used Bee Arty's 350gsm white cardstock as the base, cut down to 11.5"x11.5". This has been framed with black (11.75"x11.75") and orange cardstock (12"x12").

On the white cardstock base paint some Cider Artist Ink down the middle as shown.
 

 Next some stamping and for this I've used the Fearless Clear Stamp and randomly stamped around the photo area. After photographing, I decided it still needed something extra, so I've also used script from the Memories Rubber Stamp Set.


I've added some pieces and scraps I had from the Fearless, Brave & Free collection to add to contrast as well as compliment the colour I have used. Splutters were added using the Cider Artist Ink after adding the top and bottom strips to tie it together. The sentiment is from the Fearless, Brave and Free Within 12x12 paper, which has been cut down and matted onto black cardstock. The rest of that piece has been put behind the photo mat.


Friday 13 November 2020

Remember This Day Layout

Friday, November 13, 2020 0 Comments
Hi everyone, today I'm sharing a layout created with the stunning Something Blue collection from Uniquely Creative. I love monotone collections and this is no exception. The colour scheme is based on the Pantone 2020 colour - Classic Blue. 

Here is my layout plus close ups so you can see how I've created and embellished the page. I've given mine a mixed media background to match the pretty papers.


Products Used:
Uniquely Creative Something Blue Collection - Singing the Blues 12x12 Paper
Uniquely Creative Something Blue Collection - My Favourite Blue 12x12 Paper
Uniquely Creative Something Blue Collection - Out of the Blue 12x12 Paper
Uniquely Creative Something Blue Collection - Delft Blue 12x12 Paper
Uniquely Creative Something Blue Collection - Cut-a-Part Sheet
Uniquely Creative Something Blue Collection - Zentangle River Mini Stamp
Uniquely Creative - Text Mark Making Stamp
Uniquely Creative - Nature Stencil
Uniquely Creative - Modern Stems Die
White Cardstock
Silver Glitter Cardstock
Colour Blast by Bee Arty Colour Paste - Snow White
Colour Blast by Bee Arty Colour Spray - Indigo
Memento Ink - Paris Dusk
 
Thanks for stopping by, happy crafting!

Sunday 8 November 2020

Dusty Attic November Challenge

Sunday, November 08, 2020 0 Comments
I'm sharing my entry for Dusty Attic's November Challenge. As soon as I saw the mood board I knew exactly which paper collection to use. The Wise & Free Collection from Uniquely Creative was perfect as it has the soft pastel tones just like the mood board.
 
I've used three different chipboard items from Dusty Attic for this project, all embossed with matching glittery pastel embossing powder from Couture Creations. 

Here is my layout plus close ups so you can see how I've created and embellished the page.


Products Used:
White Cardstock
 
Thanks for stopping by, happy crafting!

 
(C) 2023 Julie's Craft Haven. All Rights Reserved.