Friday 23 February 2024

Remember This Moment Layout for 3Quarter Designs

Friday, February 23, 2024 0 Comments
 Hi 
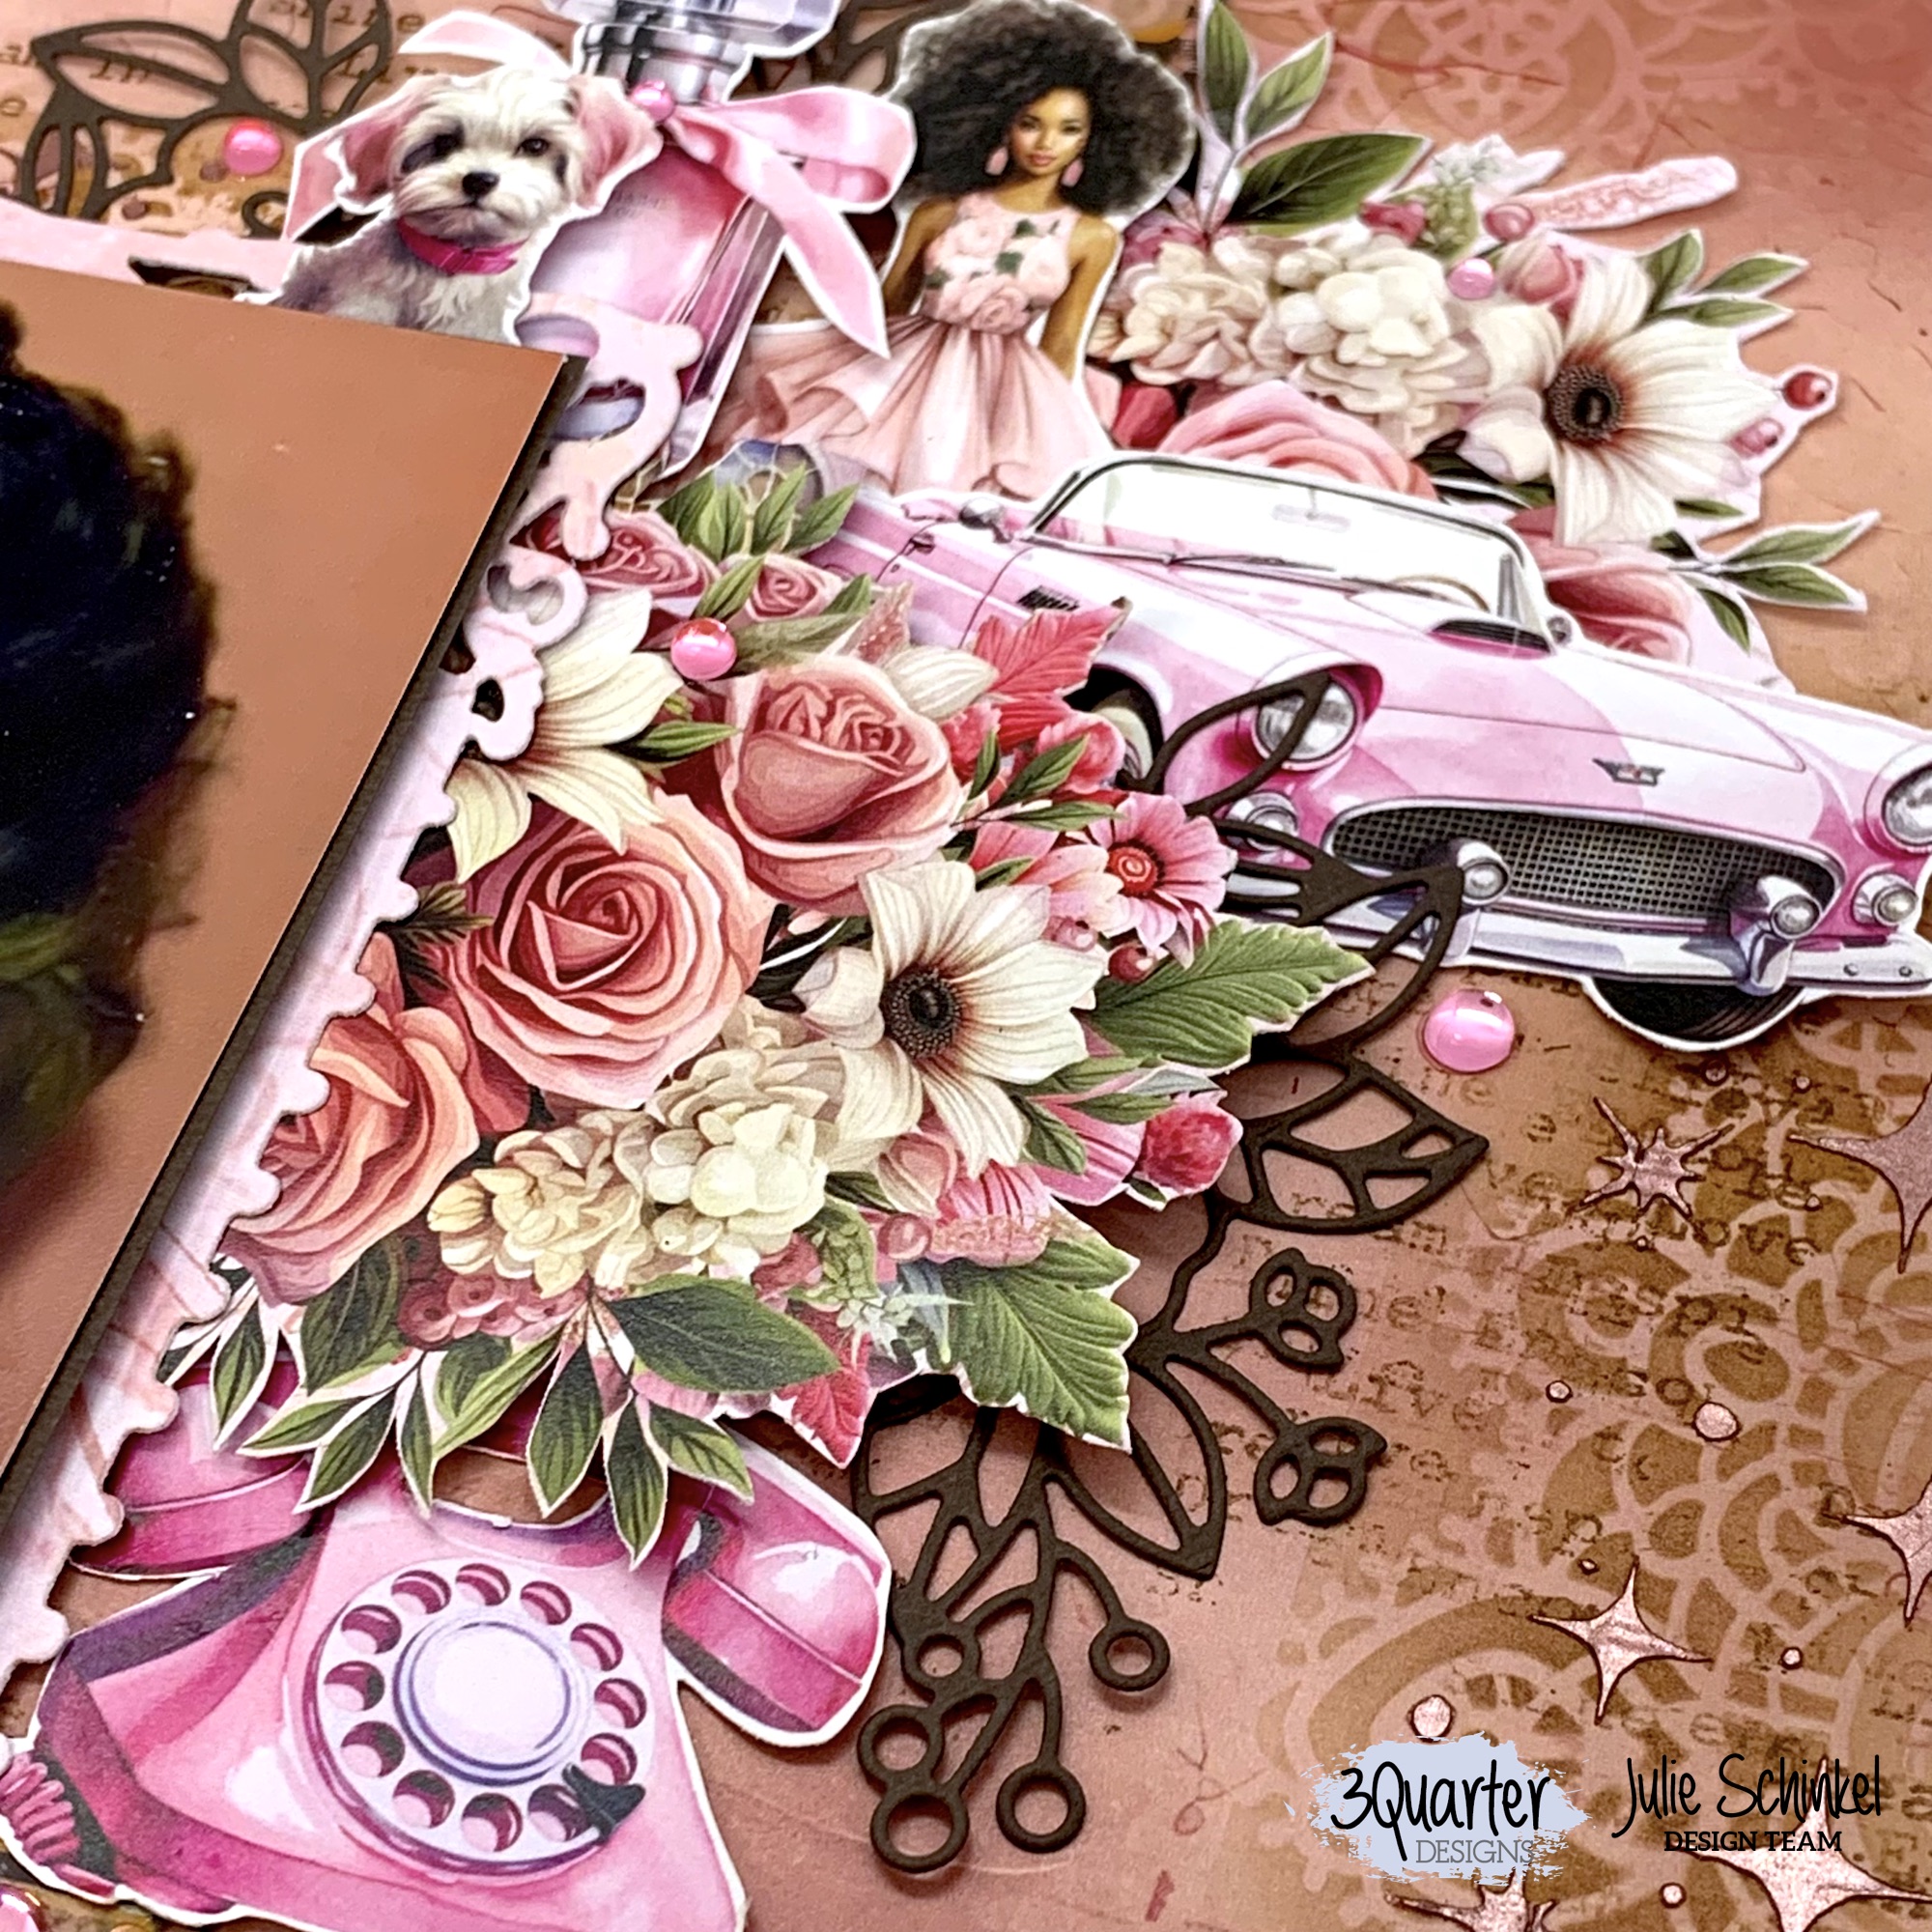
everyone, today I'm sharing a layout created with the beautiful Doll House Mini Collection from 3Quarter Designs. This collection is so pink and girly! It was perfect for this photo of me when I was getting ready for my high school formal. I loved the retro elements too as it was the era.
 
Here is the completed layout plus close ups so you can see how I've created it.


Thanks for stopping by, until next time happy crafting!

Sunday 18 February 2024

Meet Me Where the Sky Touches the Sea Layout for 3Quarter Designs

Sunday, February 18, 2024 0 Comments
 Hi everyone, today I'm sharing a layout created using the stunning Poseidon's Kingdom collection from 3Quarter Designs. Nautical/marine themed collections are one of my favourite themes to work with and this collection was no exception. It's gorgeous!

Here is the completed layout plus close ups so you can see how I've created it.


Thanks for stopping by, until next time happy crafting!

Friday 16 February 2024

Doll House Card and Tag Gift Set for 3Quarter Designs

Friday, February 16, 2024 0 Comments
 Hi everyone, today I'm sharing a set of cards and matching gift tags created using the gorgeous Doll House Mini Collection and coordinating Tuck n Play cards from 3Quarter Designs. This collection is gorgeous, so pink and girly!

To make these cards I've matted each panel onto a piece of black cardstock then adhered to a white cardstock base. Both layers have a 1/16" border. You can choose to do a book fold card base or a top folding note card base for these. The layer measurements are:
 
Tuck n Play Card - 3 1/2" x 5 1/2"
Black cardstock - 3 5/8" x 5 5/8"
White card base - 3 3/4" x 5 3/4"

Add what sentiments you like or leave blank for the person you are gifting this to, to choose. I've included photos of all cards below so you can see how I've placed the sentiments and what kinds of sentiments I have used. These sentiments are from a different company, but they give you an idea of how you can add different styles to your cards.

For the gift tags I have used a tag die which wasn't much smaller that the card itself. If you don't have a suitable tag die you can either cut the corners to give a tag shape or use a corner rounder/punch. The tag die I used punched the hole but you can also use a hole punch. If using a punch once you've done the first tag, line it up with the next one and mark where you've punched the hole. Repeat this for all ten cards. That way the holes will all be punched in the same place. To finish add the eyelet and ribbon. Stamp or write TO: and FROM: on the back of your gift tags. I've put the cards and tags into a matching organza bag to show how you can make this into a gift set.
 
Here are the completed cards and gift tags plus close ups so you can see how I've created them.


Thanks for stopping by, until next time happy crafting!

Poseidon’s Kingdom Calendar for 3Quarter Designs

Friday, February 16, 2024 0 Comments
 Hi everyone, today I'm sharing a special project that I have created using the new Tuck n Play cards and the Poseidon's Kingdom collection. I've also used the 2024 Tiny Calendar from 3Quarter Designs to create this flip calendar.
 
Here is a quick tutorial on how I made this calendar:
  1. Tear out the pages from the 2024 Tiny Calendar and trim down to 4" x 2 5/8"
  2. Mat both the Tuck n Play card and the calendar page onto one piece of black cardstock measuring 3 5/8" x 8 1/4". Repeat this step for each month.
  3. Cut 12 pieces of paper from the Poseidon's Kingdom 12x12 paper each measuring 4" x 8 3/4". I focused on the plainer parts of the papers leaving the images where I could. You don't have to worry about coordinating them to match the Tuck n Play cards. These papers all work beautifully together no matter which one you choose. Note: you will use a lot of the 12x12 paper for this step, so if there's any you want to keep for a layout take those out first.
  4. Mat the 12 pattern papers onto pieces of black cardstock measuring 4 1/4" x 9"
  5. Adhere the calendar layers to the patterned paper layers.
  6. Punch a whole at the top making sure you go through all layers then clip an eyelet into the punched hole. You can also use a binding machine as an alternative to punching the holes and adding eyelets. Note: some binder rings/ribbon won't work as a flip option if the hole/eyelet isn't big enough. I discovered this at the time of creating. You can either use bigger eyelets if you have them or skip the eyelets altogether. It just won't be as strong.
  7. Use a chain or ring that will hold all twelve panels but that you can flip easily without restriction.
Here is the completed calendar plus close ups so you can see how I've created it.


Thanks for stopping by, until next time happy crafting!

3Quarter Designs 2024 Design Team

Friday, February 16, 2024 0 Comments
 Hi everyone, I'm super happy to be staying on as part of the Design Team for 3Quarter Designs in 2024. I'm so excited and honoured to continue creating for this wonderful company and can't wait to share some inspiration with you soon.
 
If you don't know who 3Quarter Designs are, they are a New Zealand company who manufacture coordinating paper and chipboard collections for Scrapbooking, Cards and Off-the-page projects! 3Quarter Designs also feature examples of finished projects on the back of the packaging for inspiration.
 

 Be sure to check back here soon, I'll be sharing some projects with you soon!
 
Thanks for stopping by, until next time happy crafting!
(C) 2023 Julie's Craft Haven. All Rights Reserved.