Showing posts with label Uniquely Creative Creative Kit Club. Show all posts

Tuesday, 30 August 2022

Best Friends Layout for Uniquely Creative Kit Club

Hi everyone, today I'm sharing the fourth and final layout created for Uniquely Creative Kit Club using the August release Among the Gum Trees collection. This is my nephew having fun with one of his horses Danni.

Here is my completed layout so you can see how I've created the page.


Thanks for stopping by, happy crafting.

Awesome Life Layout for Uniquely Creative Kit Club

Hi everyone, today I'm sharing the third layout created for Uniquely Creative Kit Club using the August release Among the Gum Trees collection. This is my niece back when she was younger doing Pony Club events and her horse Minnie.

Here is my completed layout so you can see how I've created the page.


Thanks for stopping by, happy crafting.

Farm Days Layout for Uniquely Creative Kit Club

Hi everyone, today I'm sharing the second layout created for Uniquely Creative Kit Club using the August release Among the Gum Trees collection. This is my niece with one of her horses Minnie.

Here is my completed layout so you can see how I've created the page.


Thanks for stopping by, happy crafting.

THIS Layout for Uniquely Creative Kit Club

Hi everyone, today I'm sharing the first layout created for Uniquely Creative Kit Club using the August release Among the Gum Trees collection. This is my niece enjoying the hay ride and horses at her school fete.

Here is my completed layout so you can see how I've created the page.


Thanks for stopping by, happy crafting.

Sunday, 26 June 2022

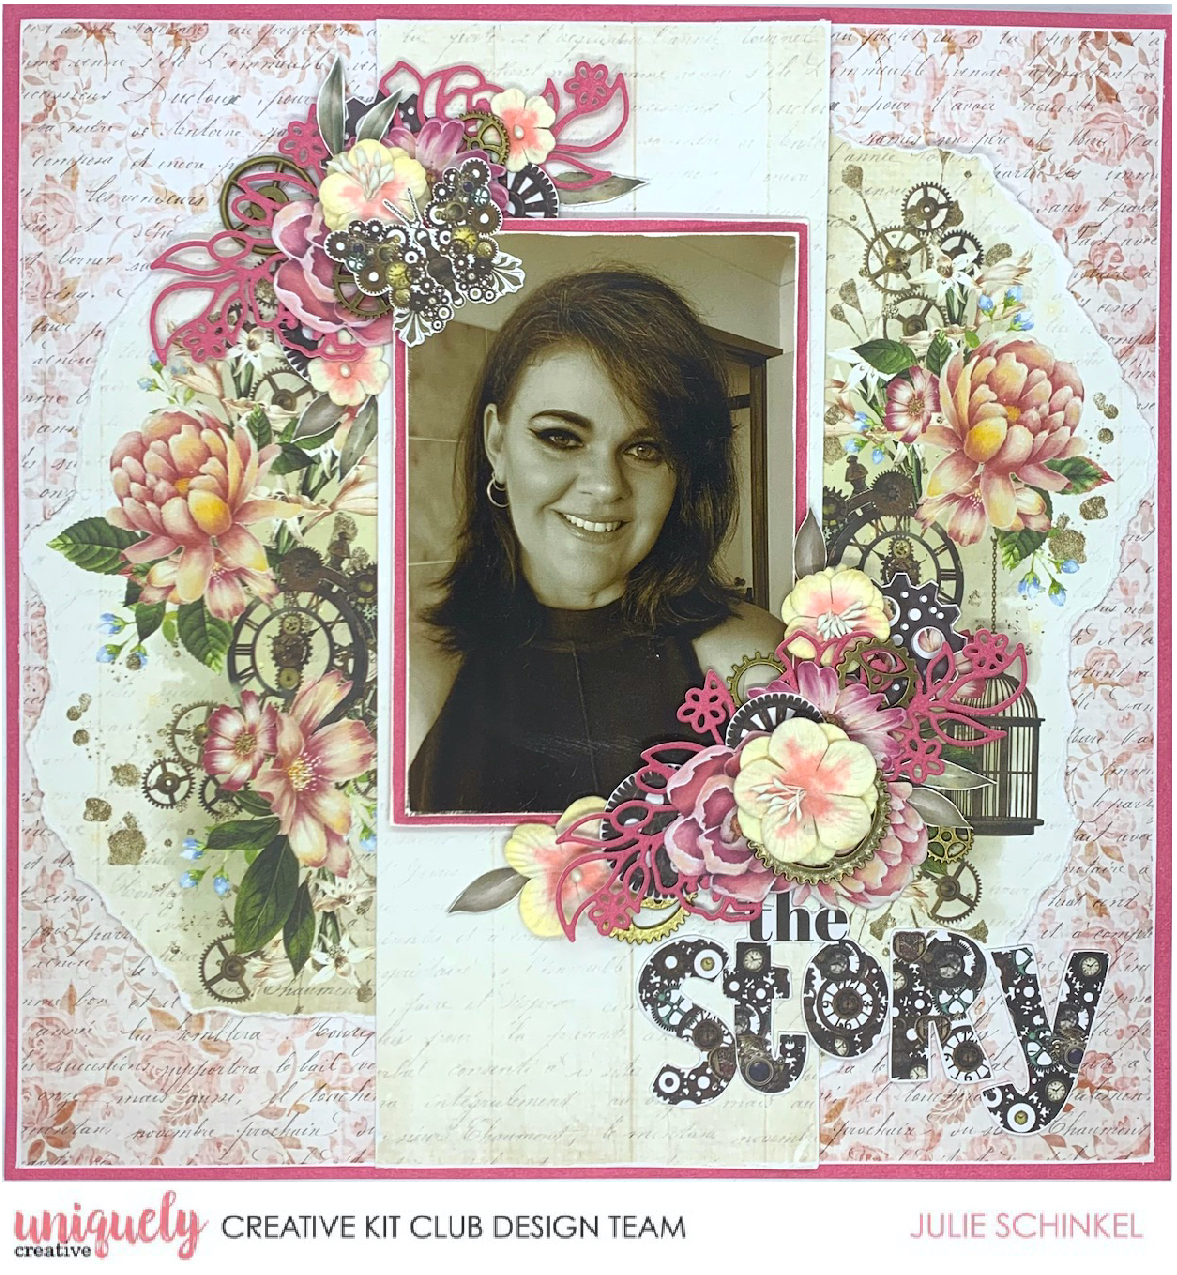
The Story Tutorial for Uniquely Creative Kit Club

Hi everyone, today I'm sharing a tutorial created for Uniquely Creative Kit Club using the beautiful June release Steampunk Boutique. The original tutorial can be seen on the Uniquely Creative blog HERE.
 

Instructions:

1. Cut out a half inch square frame from the Pink Lake cardstock.

2. Trim down a sheet of the Hybrid Blooms paper to 11.75" x 11.75" square. Lightly sand the edges using your distress block. Adhere to the Pink Lake cardstock frame. TIP: when gluing a piece of paper to an open cut frame, put your tape/glue down on the inner edge part of the frame, not on the back of the paper. This way you won’t have glue or tape on the exposed area at the back of the base. Also, by placing your adhesive here means you can also distress/curl the edges of the paper later if desired as they are not stuck down to the frame.

3. Trim a piece from the centre of the Guilded Cage paper. You want this piece to be approximately 4.5" wide x 12" long. As a guide, measure six inches across and lightly rule a line down the middle of the paper. Then measure two more lines approximately 2.25" either side of the six inch line. That will ensure you get the right size and also leave room to tear around the elements. Trim a 1/4" from the top OR bottom of this panel so it fits with the base. Sand all edges with the sanding block and adhere to the base.

4. Tear around both side elements from the Guilded Cage paper. You can also fussy cut these or use the waterbrush trick to help with tearing if preferred.

5. Lighty sand the edges of your photo using your sanding block.

6. Cut a piece of the Pink Lake cardstock to 6.25" by 4.25". Lightly sand the edges then adhere your photo.

7. Fussy cut the butterfly and leaves from the Borrowed Time paper. The flowers, cogs and title are taken from the Creative Cuts.

8. Die cut two of the Boutique Bouquet die from the Pink Lake cardstock. Colour the inner part of the Chantily flowers with matching ink/paint diluted with water. From the Mixed Cogs pack, choose all of the bronze pieces and set aside.

9. Adhere the three panels from the Guilded Cage paper to the base. Start with the plain panel, adding tape or glue in the centre only as the element pieces will be slightly tucked in underneath. Adhere the floral elements to the base. For some dimension, add foam tape or cardboard to the photo mat, adhere to the base.

10. Adhere the two die cuts to the base as shown.

11. Adhere all of the remaining elements and title as shown on the final layout. I have taken photos of both clusters so you can see how I’ve arranged them. You will need a strong liquid glue to adhere the metal cogs. Place the glue onto the back and set aside to allow the glue to get tacky before adhering to the layout.

Uniquely Products Used:

Other Products Used:

  • Paper Trimmer
  • Scissors
  • Strong Liquid Glue
  • Double sided Tape
  • Foam tape or cardboard
  • Ink/paint to match
  • Water and Paint Brush
  • Die cutting machine

Thanks for stopping by, happy crafting.

Friday, 24 June 2022

Imagine Inspiration Layout for Uniquely Creative Kit Club

Hi everyone, today I'm sharing an inspiration layout created for Uniquely Creative Kit Club using the beautiful June release Steampunk Boutique. This layout can be seen on the Uniquely Creative blog HERE.


Photo size: 4”x6” Landscape

Uniquely Products Used:

 Other Products Used: 

  • Paper Trimmer
  • Scissors
  • Double sided tape/glue
  • Die Cutting Machine
  • Scrap white cardstock (to die cut word three times adhered together for dimension)
  • Grey ink/paint for splatters

Thanks for stopping by, happy crafting.

Tuesday, 14 June 2022

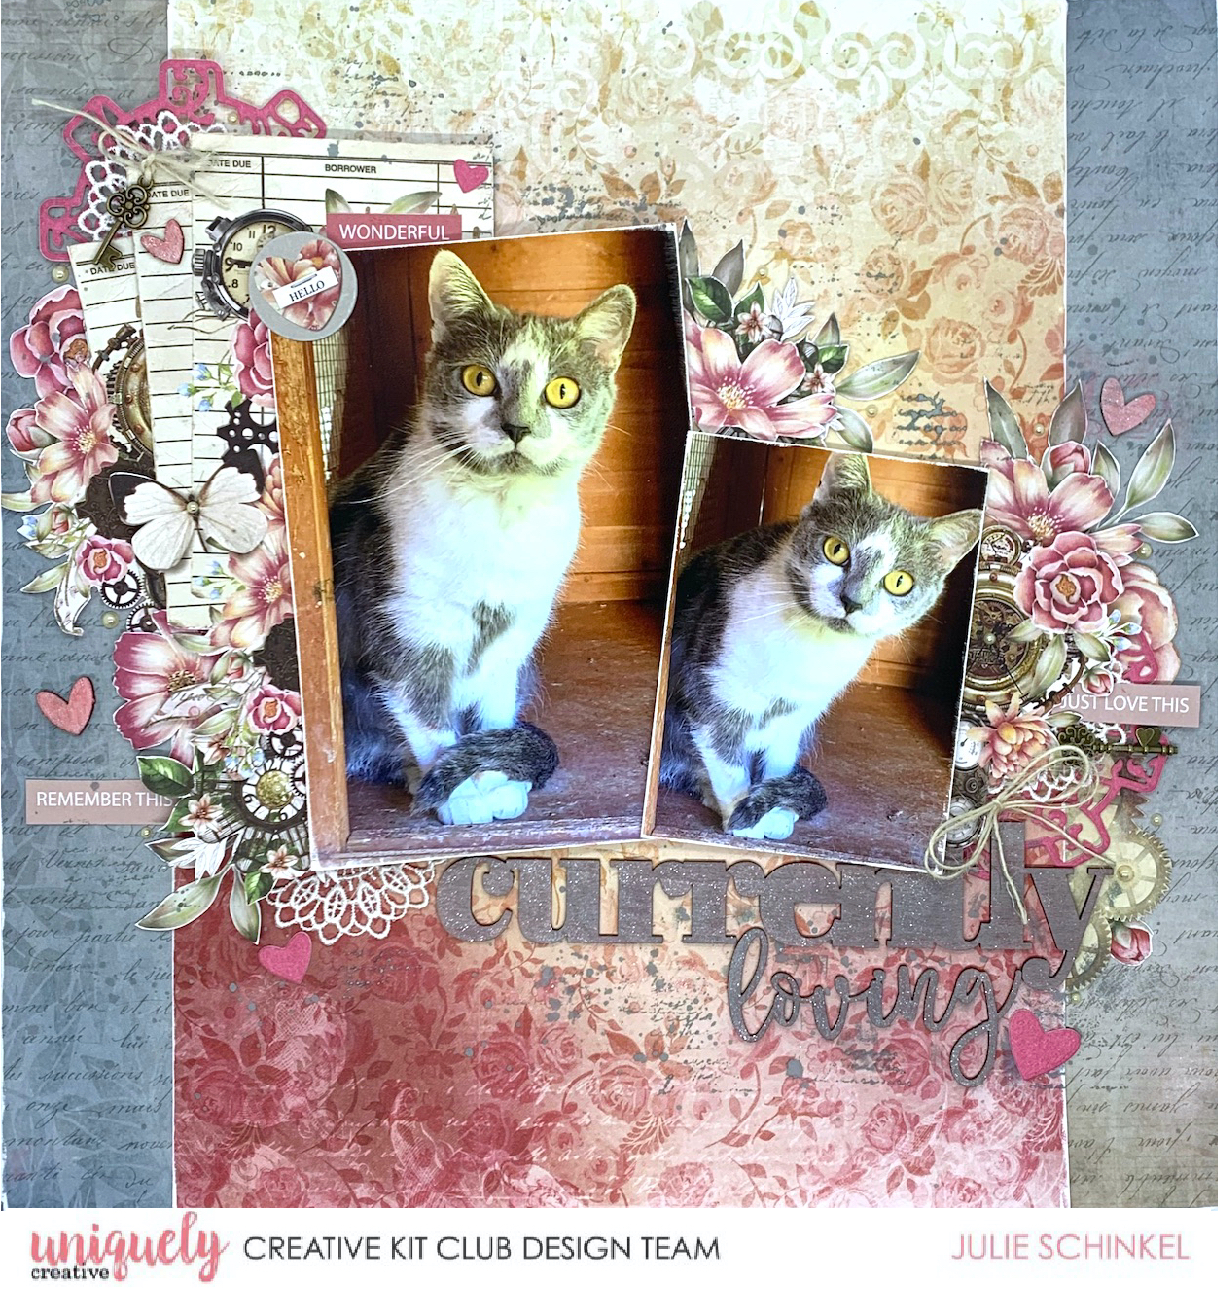
Currently Loving Inspiration Layout for Uniquely Creative Kit Club

Hi everyone, today I'm sharing an inspiration layout created for Uniquely Creative Kit Club using the beautiful June release Steampunk Boutique. This layout can be seen on the Uniquely Creative blog HERE.


Uniquely Products Used:

Other Products Used: 

  • Paper Trimmer
  • Scissors
  • Foam tape/cardboard
  • Double sided tape/strong glue
  • Ink/paint to match (I’ve used Distress Oxide in Abandoned Coral and Weathered Wood)
  • Die Cutting Machine

Thanks for stopping by, happy crafting.

Saturday, 30 April 2022

Remember Layout for Uniquely Creative Kit Club

Hi everyone, today I'm sharing the fourth and final layout created for Uniquely Creative using the April release Tapestry of Time collection. This collection is predominately ANZAC themed but you can also do feminine, vintage, any generic themed layout.

Here is my completed layout so you can see how I've created the page.


Thanks for stopping by, happy crafting.

Days of Old Layout for Uniquely Creative Kit Club

Hi everyone, today I'm sharing the third of four layouts created for Uniquely Creative using the April release Tapestry of Time collection. This collection is predominately ANZAC themed but you can also do feminine, vintage, any generic themed layout.

Here is my completed layout so you can see how I've created the page.


Thanks for stopping by, happy crafting.

Wednesday, 27 April 2022

Making Memories Layout for Uniquely Creative Kit Club

Hi everyone, today I'm sharing the second of four layouts created for Uniquely Creative using the April release Tapestry of Time collection. This collection is predominately ANZAC themed but you can also do feminine, vintage, any generic themed layout.

Here is my completed layout so you can see how I've created the page.


Thanks for stopping by, happy crafting.